Seats and billing
Assign the seats of your company plan, keep an eye on usage and deactivate accounts.
Your company uses ucando through a Tenant plan with a fixed number of Seats, that is, licences. Under Seats you hand out these licences; under Billing you keep an eye on usage.
Assign seats
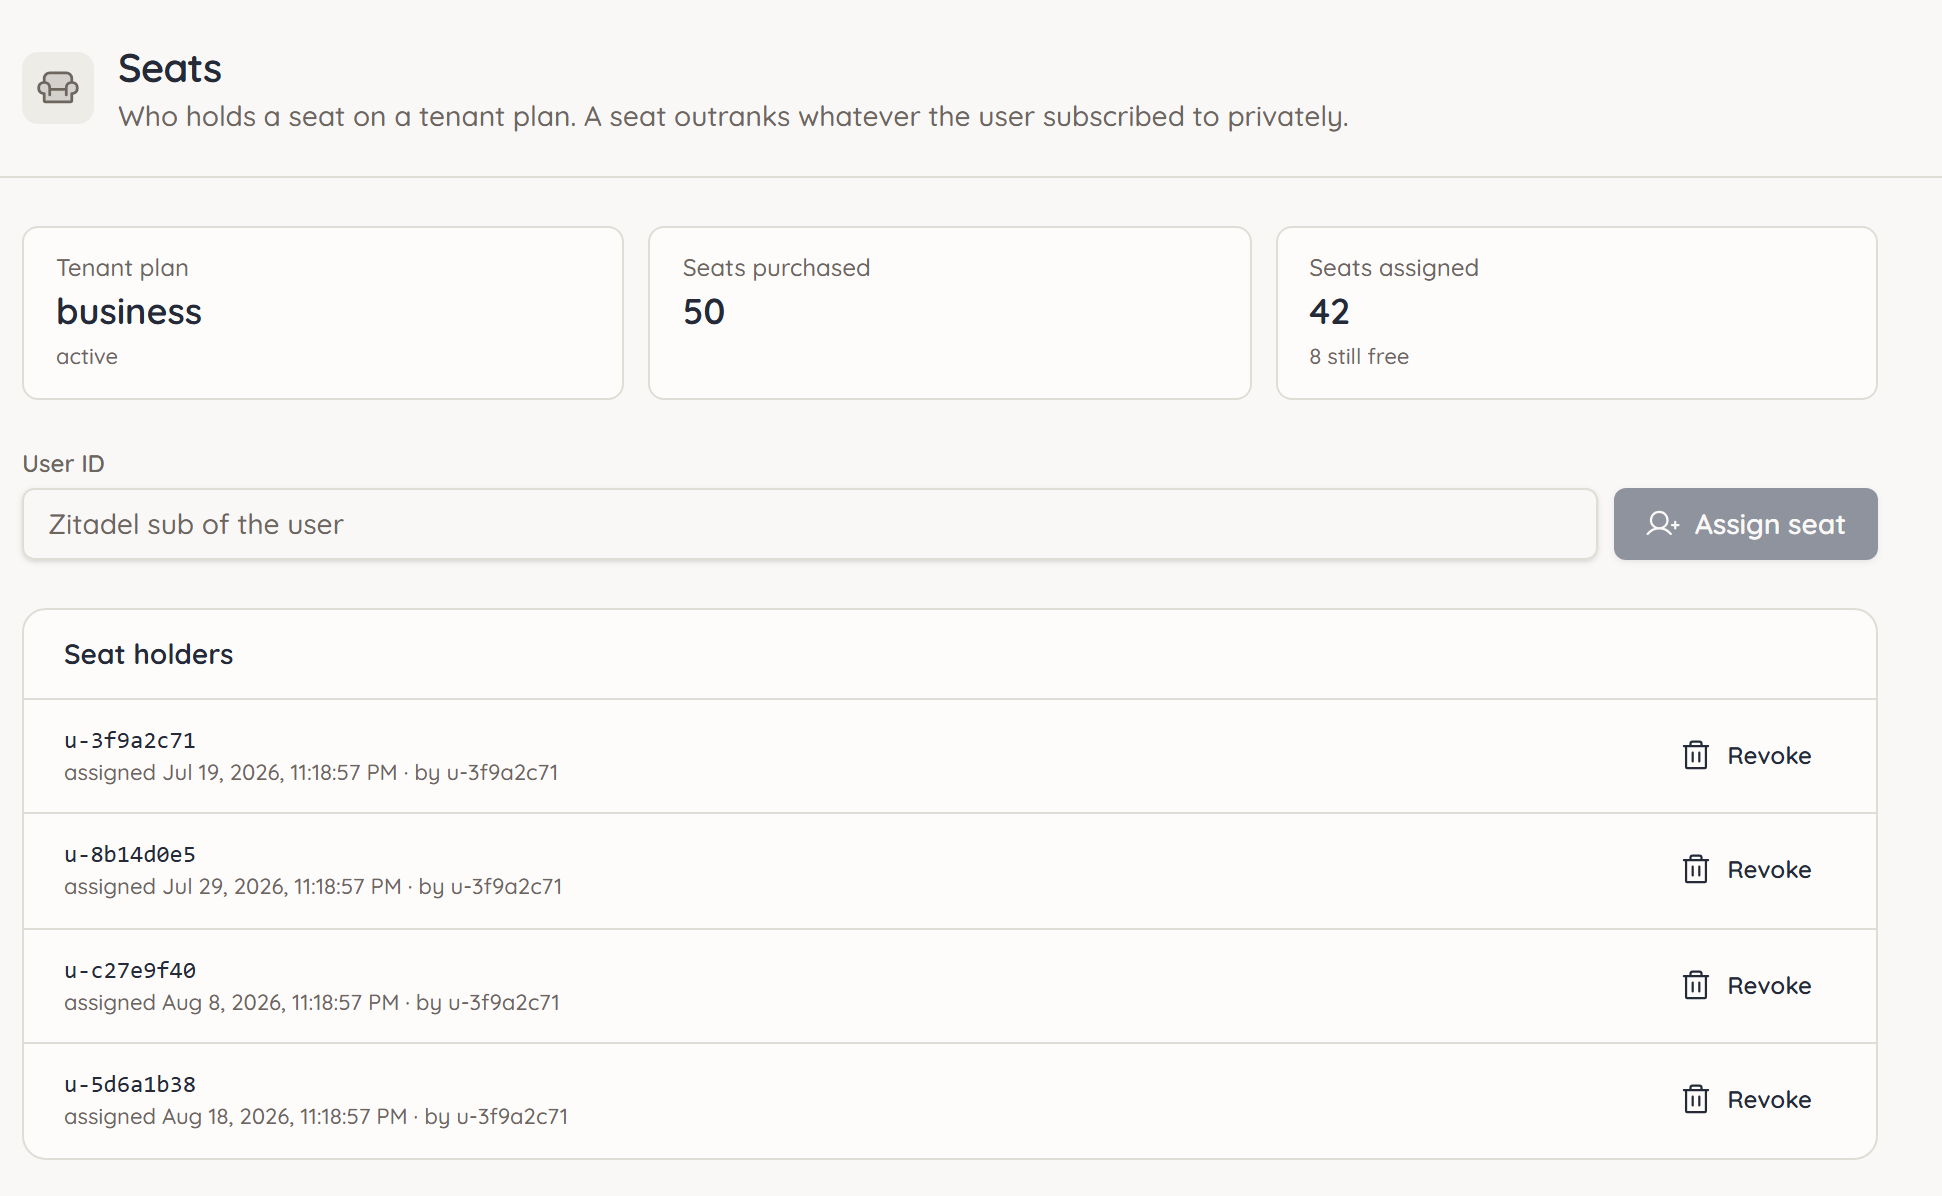
At the top, the page shows your Tenant plan and the number of Seats purchased and Seats assigned. Below that it says how many are still free.
- Open Users and copy the person's user ID. It appears below their name in the list.
- Open Seats and paste the ID into the User ID field.
- Click Assign seat.
The person appears under Seat holders and uses ucando through your company plan from now on. A seat takes precedence over any plan the person subscribed to privately.
To free up a seat, click Revoke next to the person. This happens immediately, without asking for confirmation.
If the page shows No tenant plan, no plan has been set up for your company yet. In that case, get in touch with your contact at ucando.
View individual usage
Billing opens the Billing & Quotas page. The Users tab shows each person's usage in credits: over the last five hours and in the current billing period, plus their Status and Last Activity.
- Search: Enter the user ID in the Search by user id… field.
- Open details: Click a person. The Billing Detail panel shows their Recent events.
Deactivate a person
When someone leaves your company, block their account from use:
- Open the person in the Users tab.
- Click Deactivate and confirm.
The person can then no longer use any billable AI feature and sees a notice that their account is deactivated. Activate lifts the block again. Also revoke the person's seat so it becomes free for someone else.
Only use the functions described here on this page. Limits, credit grants, credit adjustments and suspending the tenant are tools for the ucando team. Ask your contact at ucando for those.